STONE FLOOR RENOVATION – grinding
Grinding means abrading a certain surface layer of stone using appropriate tools.
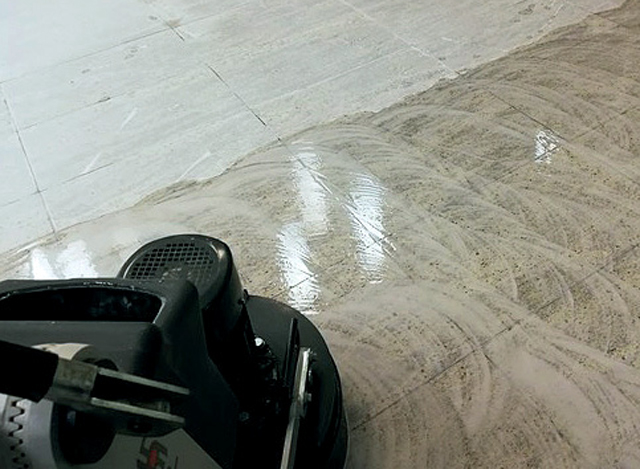
The first stage of any such work is to levelling out the surface. Special scrapers (usually metal ones) are generally used for this purpose; even if they leave coarse scratches, they allow faster levelling of the working area. It is with the use of such tools, after filling defects and restoring joints, that we bring the floor to a perfect plane.
Depending on the company whose scraper we use, the work can be carried out in one stage, using one type of tool, or in several stages, using two or three types of scrapers. The difference lies in the thickness of the diamond (or other) grain embedded in the abrasive. Initially, this may be a diamond with a grain size of 500 micrometres or more.
As a side note, it is worth mentioning that it is becoming more common to use cheaper (and weaker) synthetic diamonds in tool manufacture. This allows the manufacturer to reduce production costs, but also their quality.
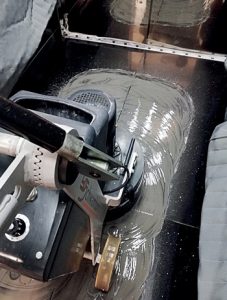
After levelling out a given surface with metal abrasives, we move on to tools which in the vernacular are called “plastics”, e.g. discs with Velcro fasteners. This is where the sanding process begins and a beautiful shine is achieved. The diamond grain embedded in the disc to start grinding is approximately 500-400 microns thick, which is quite coarse (for diamond dust). In subsequent stages, we will use tools with increasingly smaller gradations, i.e. with grain content down to as little as one micrometre.
The number of gradations in a set depends on the particular manufacturer – they may be as few as five, or as many as ten. Having a larger set, we can freely choose the number of used gradations, depending on our needs. However, this requires some experience in using these particular tools. We need to know from experience on what kind of stone which discs wear faster, and which we can simply skip. It may not be worth skipping any. An example set might include the following gradations: “00” (grit size approx. 400 μm), “0” (grain coarseness approx. 250 μm), “100” (grit size approx. 200 μm), “200” (grit size approx. 100 μm), etc.
Starting with grinding wheels with a grit size of approx. 0.499 millimetres, we end up with a grit size of approx. 0.001 mm (1 μm). The number of diamond grains obviously depends on the manufacturer. The same applies to grain thickness. If one manufacturer offers a disc with a grit size of “1500” and another offers a disc with a grit size of “10000”, this does not mean that the product marked “10000” has a finer grit than one bearing the number “1500” or “1200”. It does not have to be this way. Underneath all these numbers, there may be diamond dust of 1 μm (or similar thickness). At this stage of the work, it is of virtually no importance.
In reality, it is sufficient to bring the grind to a gradation level containing a grain thickness of around 7 μm. This means that we do not always have to and may even be unable to grind to the very end. By this we mean that it is not possible to use all the gradations in our set of tools. Some types of stone lose their lustre when ground with the finest diamond, in which case it is necessary to go back to an earlier gradation. The loss of gloss is of course not caused by the diamond. It is caused by the material used to make the disc, the bond, which can have the opposite effect when working on soft stone.
Source: Kurier kamieniarski
Author: Artur Janus | Published: 12.05.2021